5 Positive Parenting Tips to Help Your Toddler Manage Big Emotions
Every parent knows the feeling. You cut the toast into squares instead of triangles, and suddenly your living room becomes
Read More
Every parent knows the feeling. You cut the toast into squares instead of triangles, and suddenly your living room becomes
Read MoreWallpaper is having a massive moment in nursery home decor. From soft botanical watercolor patterns to whimsical forest scenes, a
Read MorePlayrooms are often envisioned as high-energy spaces covered in primary colors, loud electronic toys, and busy wall murals. However, child
Read More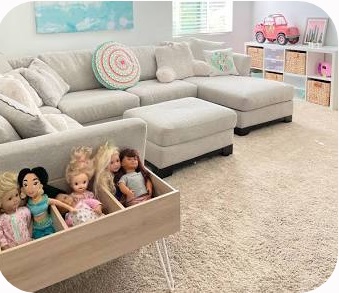
It is the classic parenting struggle: you spend months curating a calm, beautiful living space, only for it to be
Read More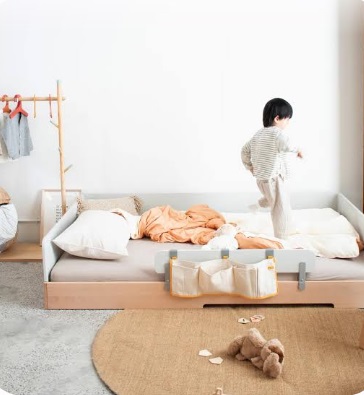
Transitioning your toddler from a crib to a big-kid bed can be a daunting milestone. Instead of traditional toddler beds
Read More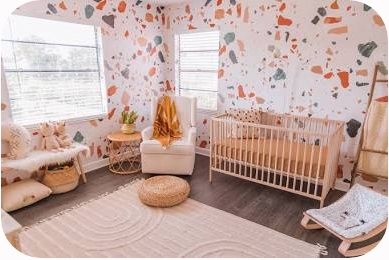
Designing a nursery is one of the most exciting milestones of pregnancy. However, modern parents are shifting away from the
Read More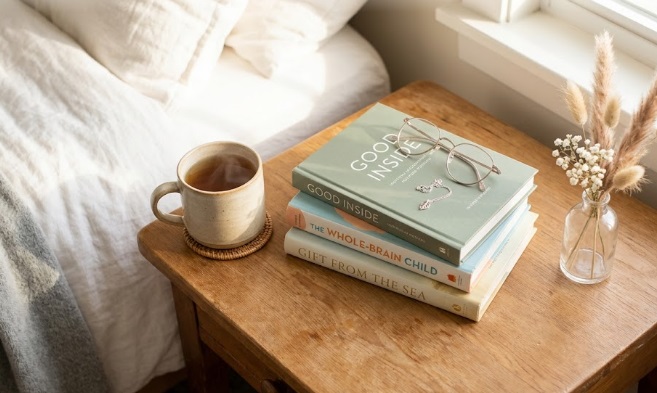
Between the endless cycles of laundry, making snacks, and managing a household, finding a moment to sit down with a
Read More
Between midnight feedings, diaper changes, and chasing after a toddler, finding time for yourself can feel like an impossible luxury.
Read More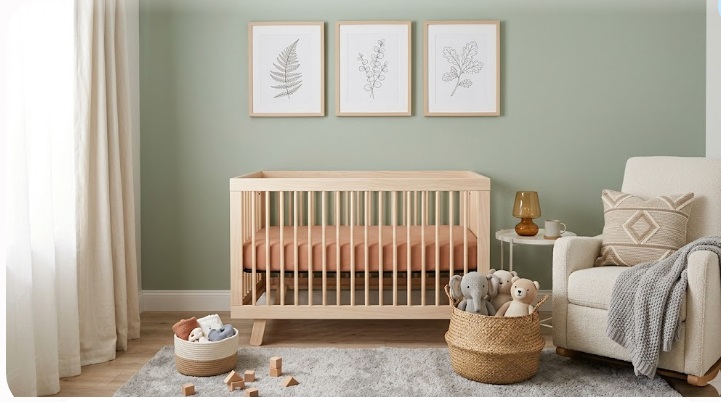
Preparing for a new baby is one of the most exciting journeys in parenthood. Amidst choosing baby gear and folding
Read More
Fall is here, and it’s time to refresh your little one’s wardrobe! For busy moms, the key is finding clothes
Read More