How to Survive the 3-Week Sleep Regression: A Parent’s Guide
Is your newborn suddenly fighting sleep and cluster feeding? Learn the signs of the 3-week sleep regression and how to
Read More

Is your newborn suddenly fighting sleep and cluster feeding? Learn the signs of the 3-week sleep regression and how to
Read More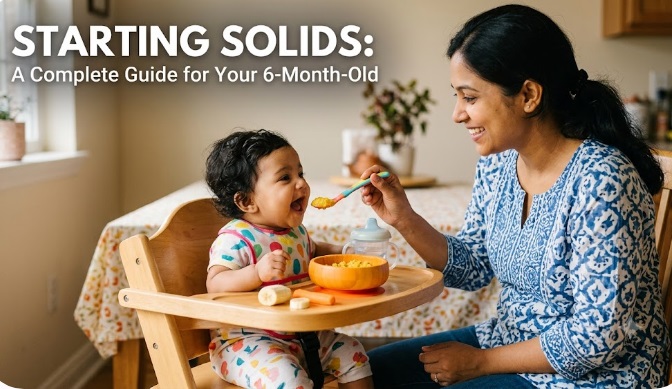
Reaching the 6-month mark is a massive milestone for both you and your baby. For the first six months, breast
Read More
Essential Newborn Care Tips: Your Ultimate Guide to the First Week Home. Bringing your beautiful new baby home from the
Read MoreSkipping the Purees: Your Safe Guide to Baby-Led Weaning at 6 Months For decades, the standard path to introducing solid
Read More
Preparing for a new baby is one of the most exciting journeys in parenthood. Amidst choosing baby gear and folding
Read More
Fall is here, and it’s time to refresh your little one’s wardrobe! For busy moms, the key is finding clothes
Read More
The toddler years are a beautiful, whirlwind phase of rapid growth. Your little one is learning to walk, talk, and
Read More
If you are staring at your screen in the dark at 3:00 AM, rocking a wide-awake infant and wondering, “why
Read More
Introduction Bringing a bundle of joy home is one of life’s most beautiful milestones. However, if you are a new
Read More
6 Month Baby Food Chart : If you are wondering how to safely introduce solids to your infant, this beginner-friendly
Read More